DIY Tutorial

Of course, I appreciate it if you purchase a USB Nova from the Spacehuhn Store. But I also understand that not everyone can afford it. So here's how to build your own using a Raspberry Pi Pico or an Adafruit Trinkey.
Adafruit Trinkey QT2040
The Adafruit Trinkey QT2040 is perfect for running the USB Nova firmware. With 8MB of flash memory (7MB via USB), RGB LED, USB-A plug, and a boot button that can be used to run scripts. No soldering is required!
Steps
- Hold the BOOT button while connecting the Trinkey to your computer.
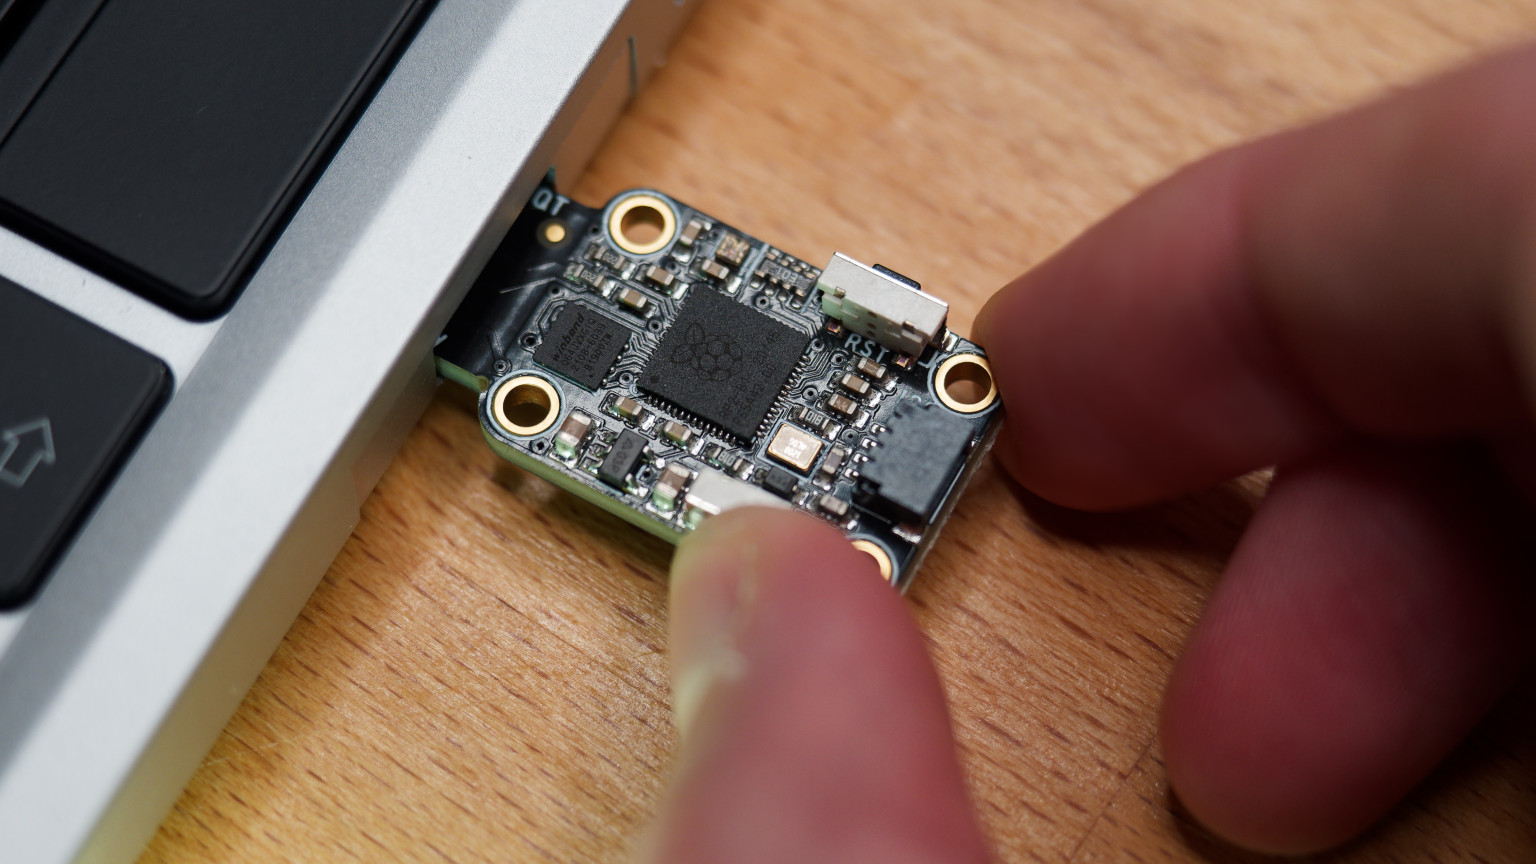
The RPI-RP2 drive should appear on your computer. (If it doesn't, try again)
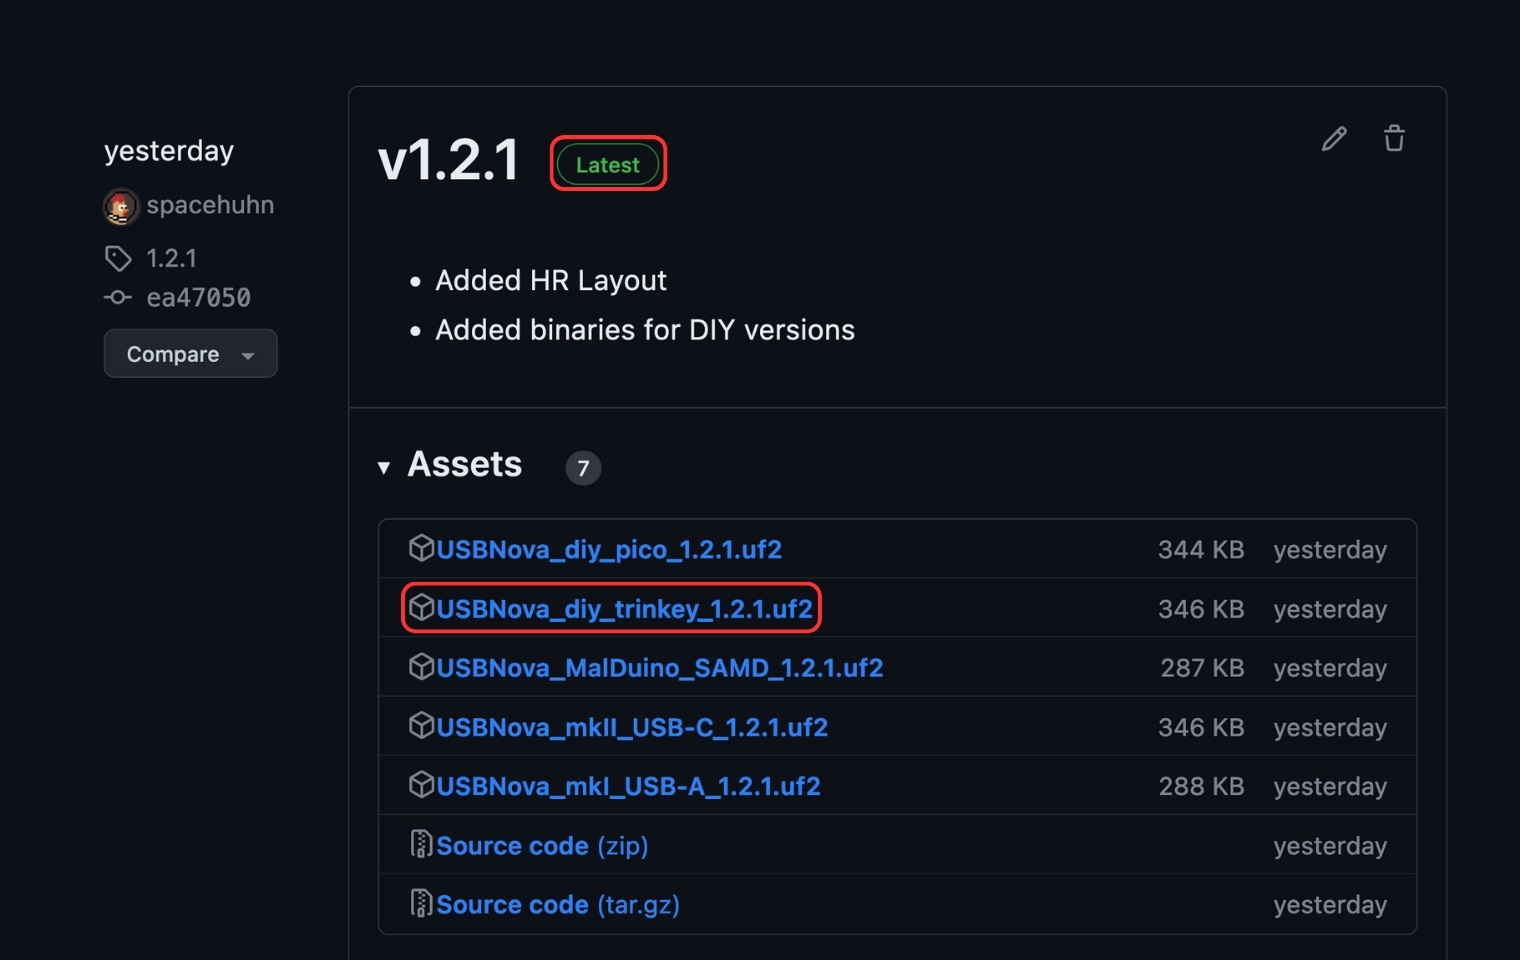
Download the latest
USBNova_diy_trinkey_.uf2file from the release page
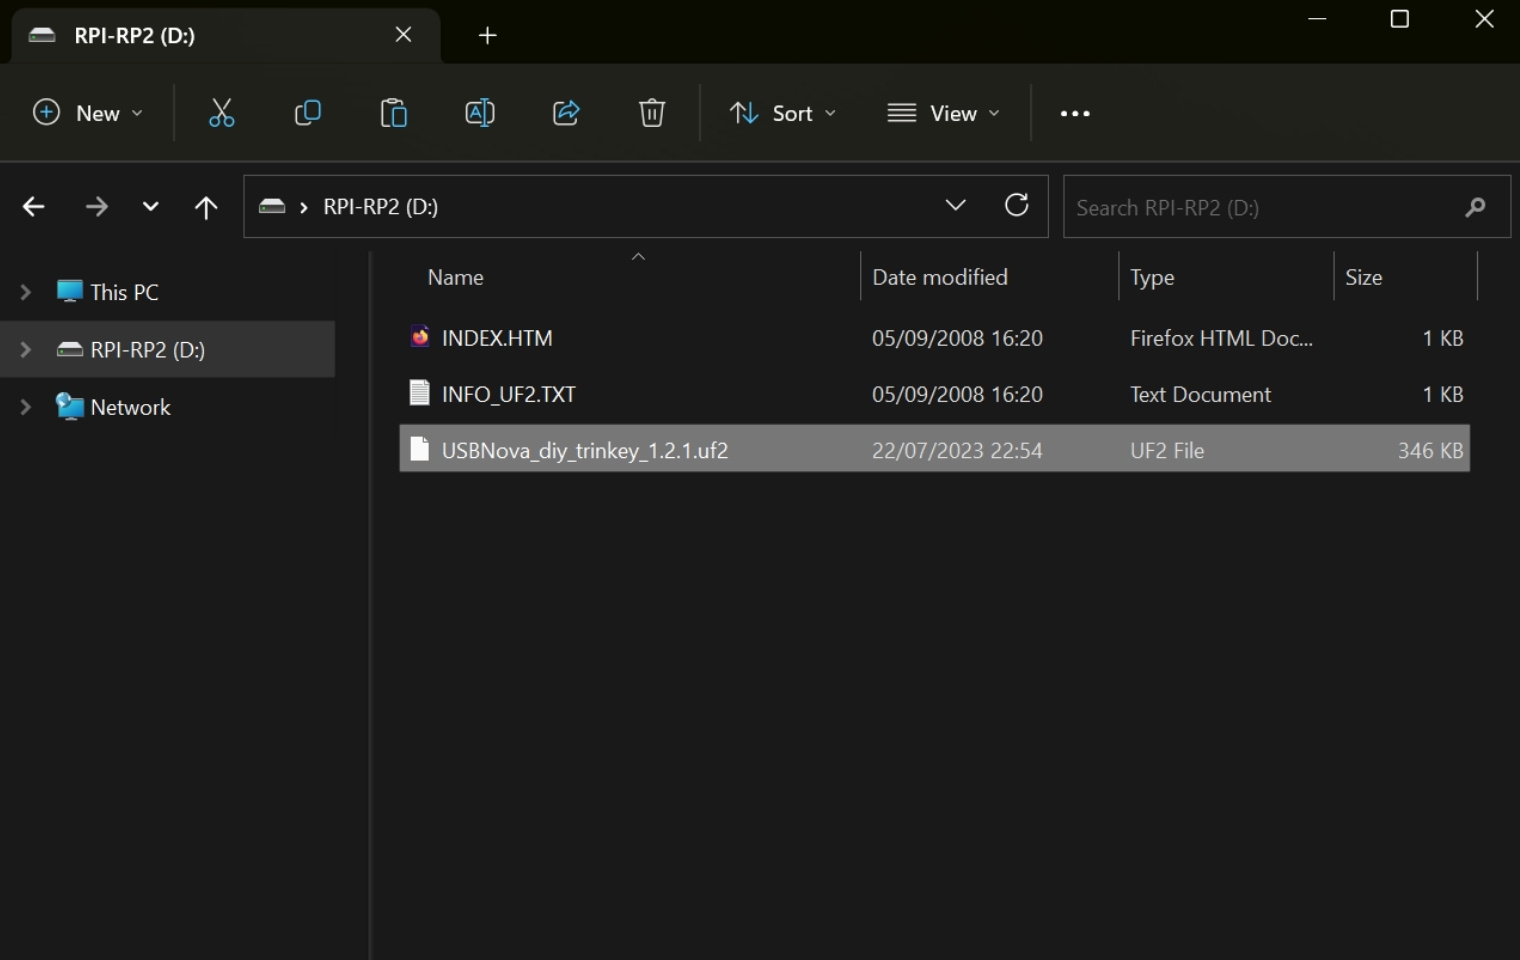
- Copy the downloaded uf2 file onto RPI-RP2 drive. The Trinkey will update itself and reconnect.
- Done! To run a script, press the boot button for 1 second.
Case (Optional)
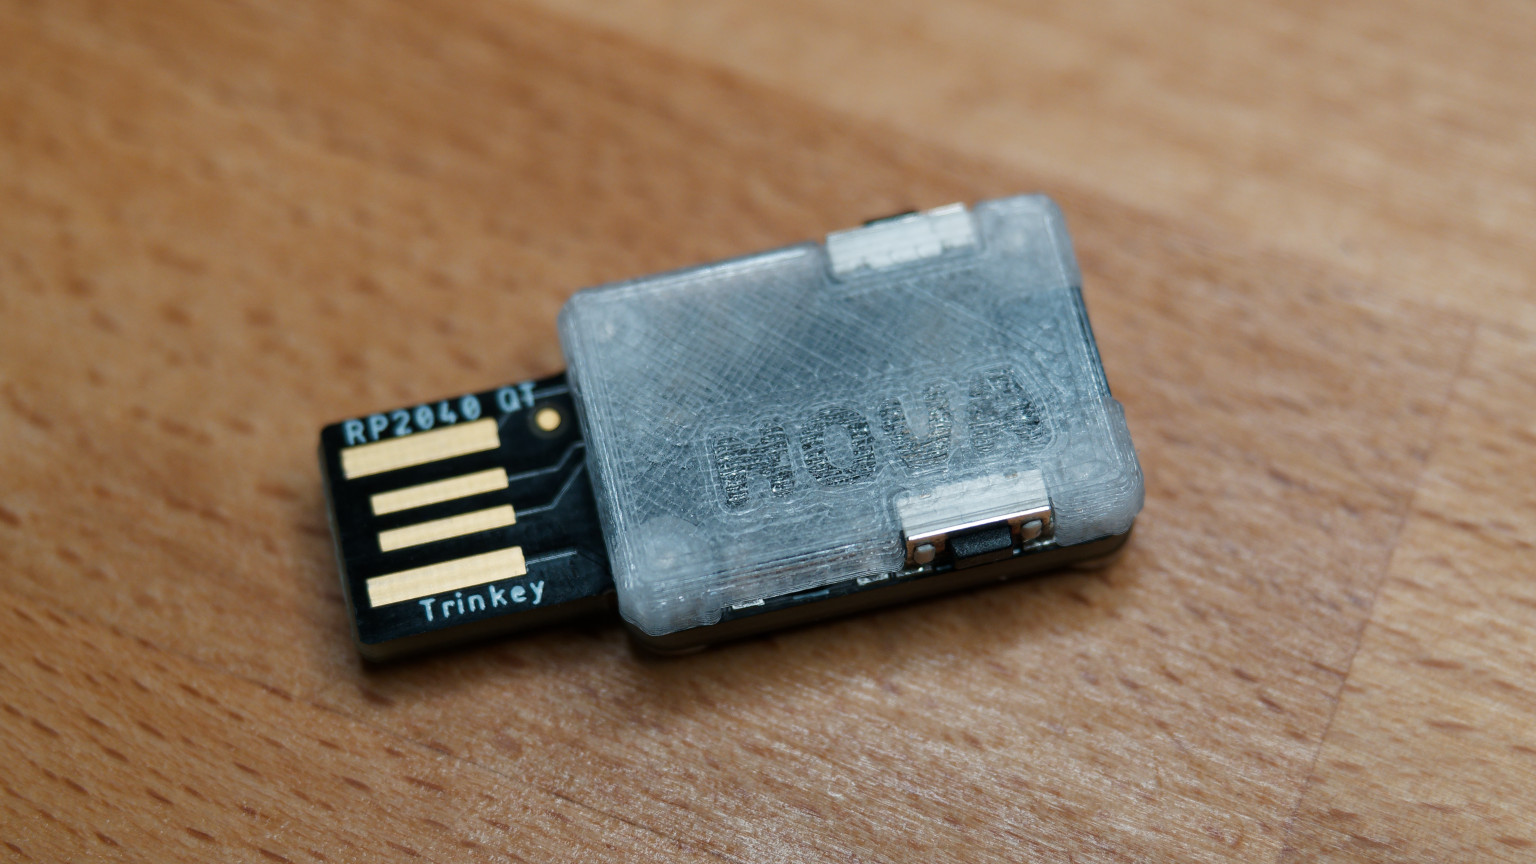
I designed a case for the Trinkey that you can 3D print. It's optional, but it looks much better and protects the Trinkey from damage.
- Download files: Printables
- M2.5 4mm screws: AliExpress Affiliate Link
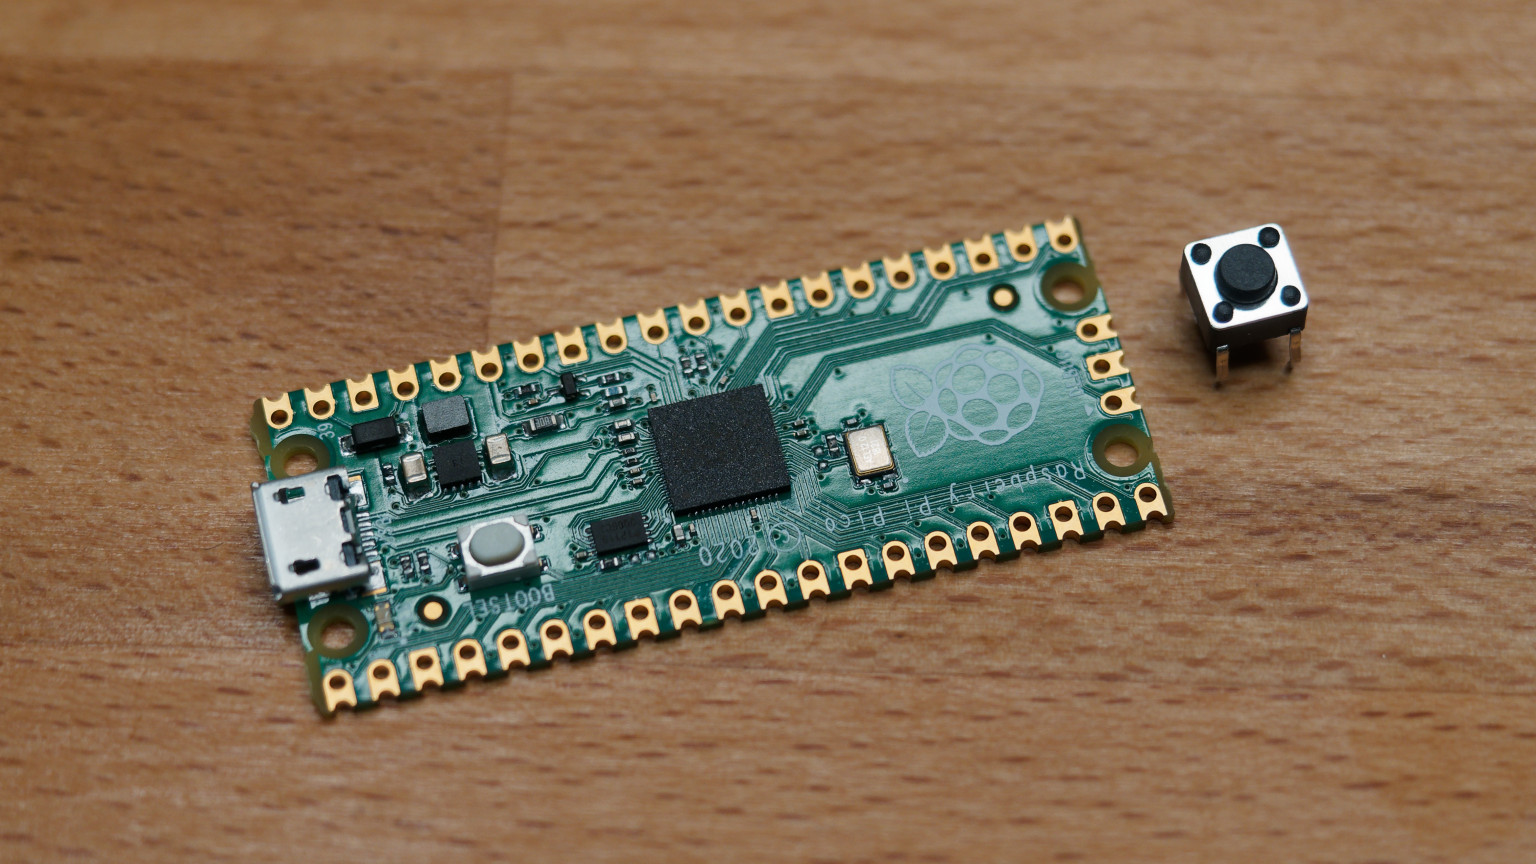
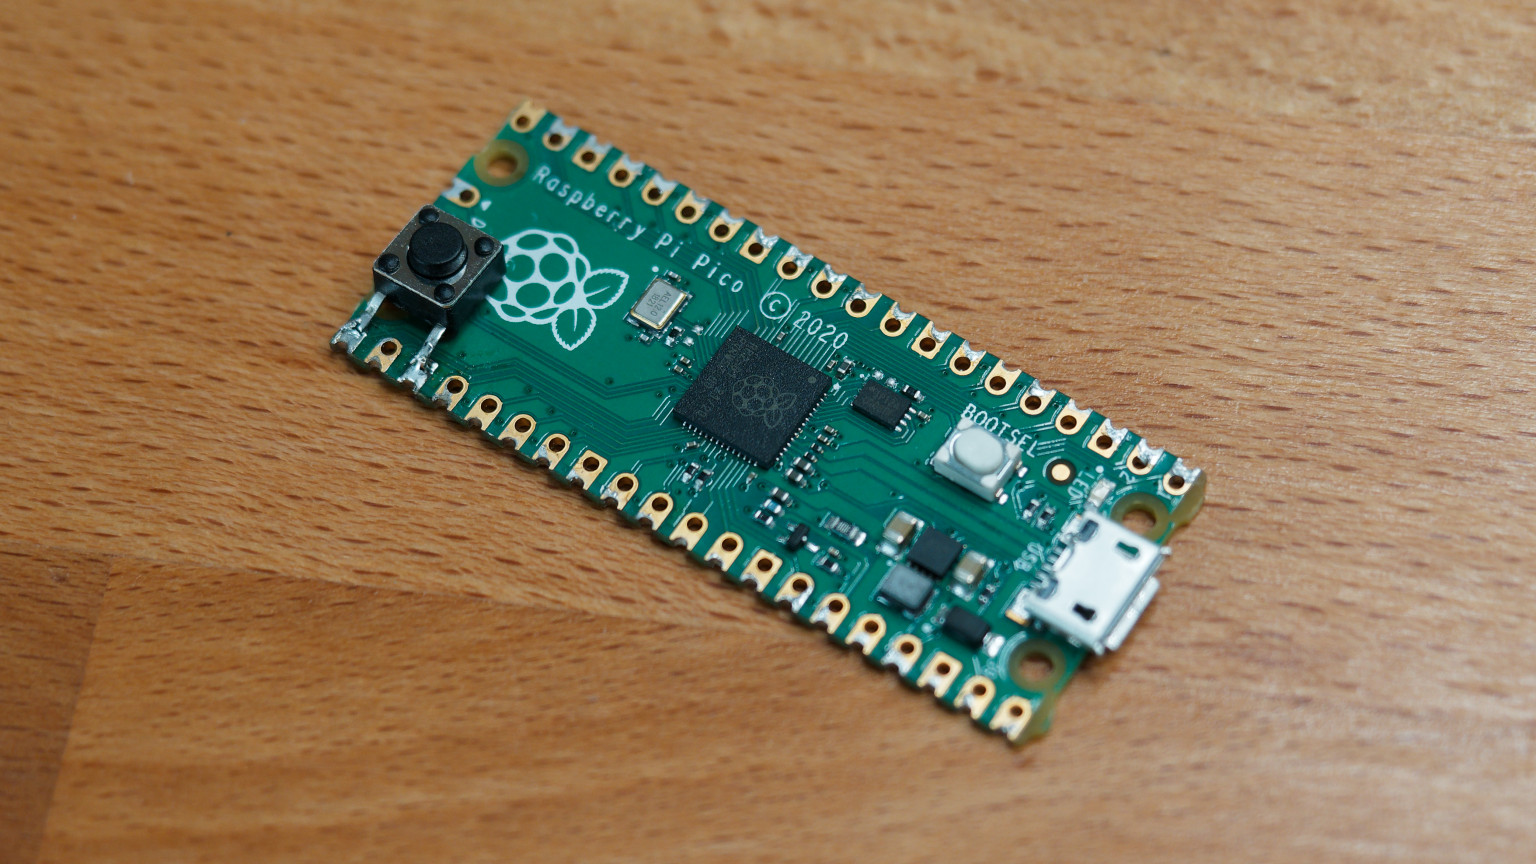
Raspberry Pi Pico
The Pico has 2MB of flash memory. 1MB is accessible via USB. There is no RGB LED. You also need a micro USB cable to connect it to your computer.
Requires soldering!
Parts
| Part | Affiliate links |
|---|---|
| Raspberry Pi Pico | Amazon, AliExpress |
| Tactile Push Button | Amazon, AliExpress |
Steps
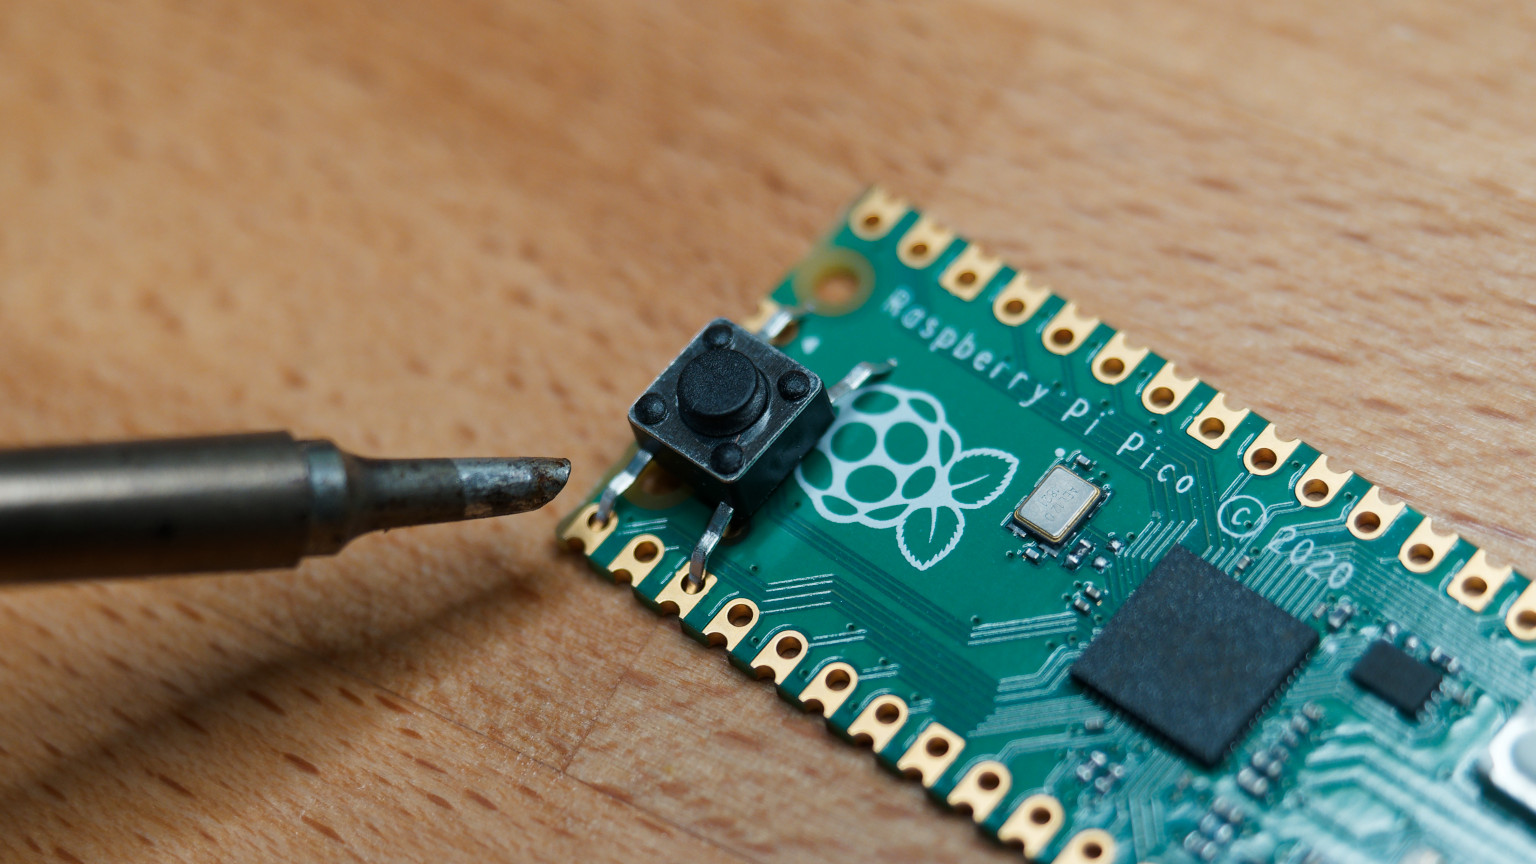
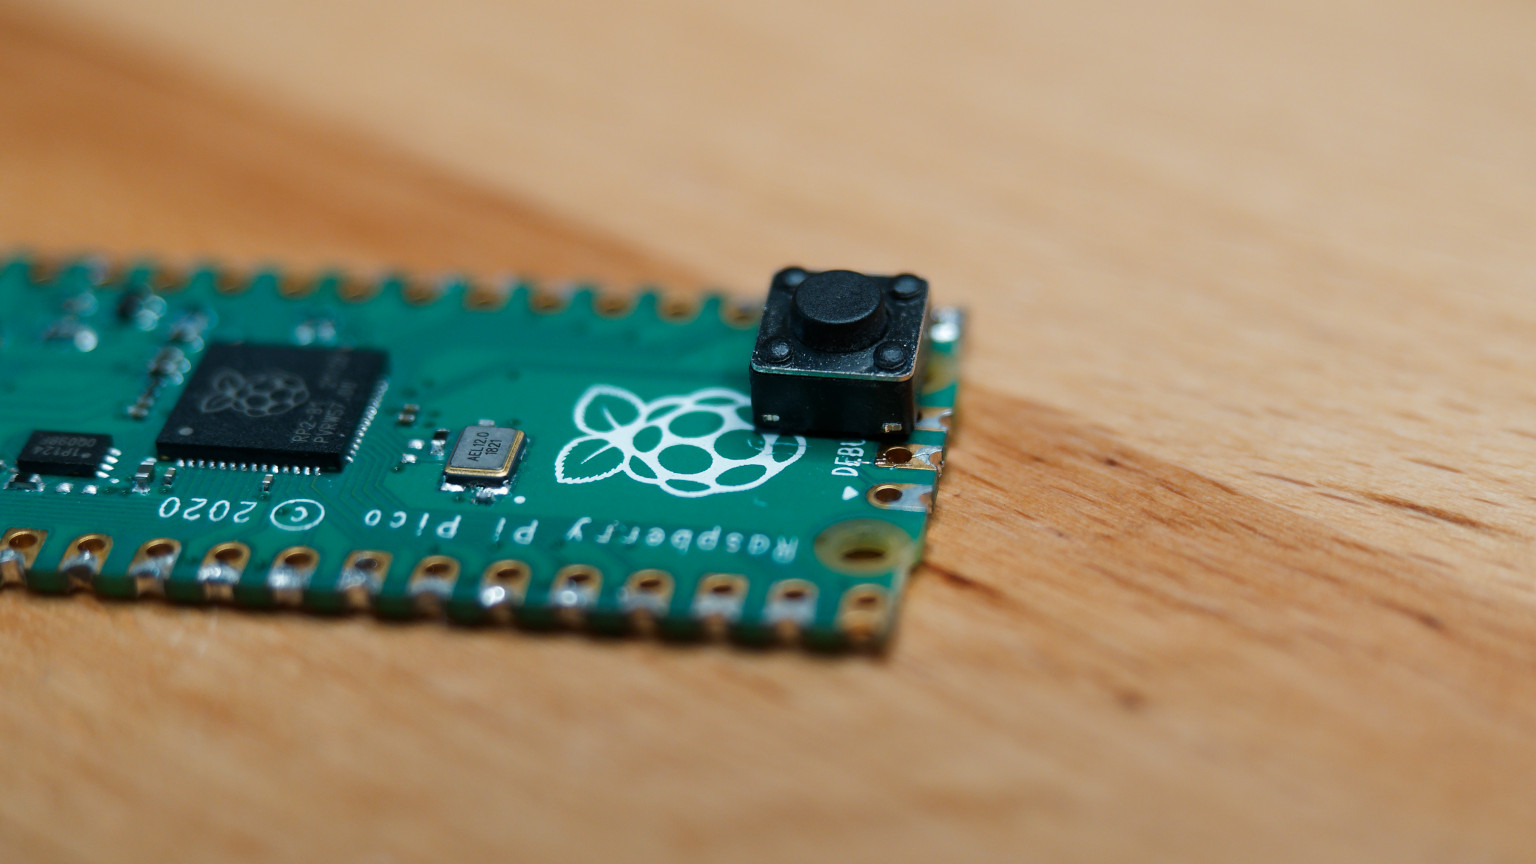
- Take the button and solder it between GP16 and GND.
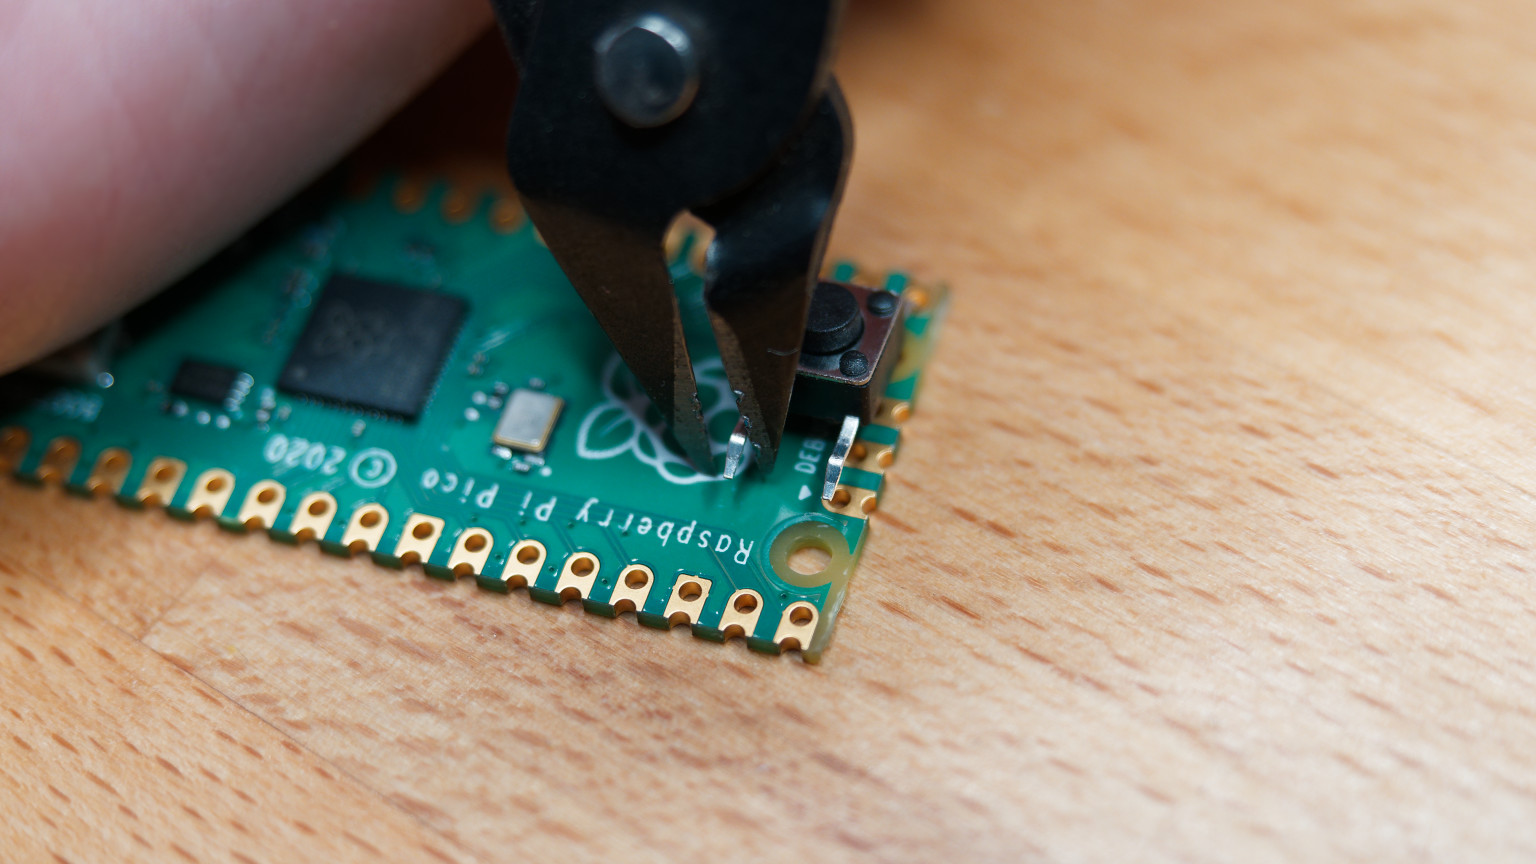
- You can cut off the legs on the other side.
- Hold the BOOTSEL button while connecting the Raspberry Pi Pico to your computer using a USB cable.
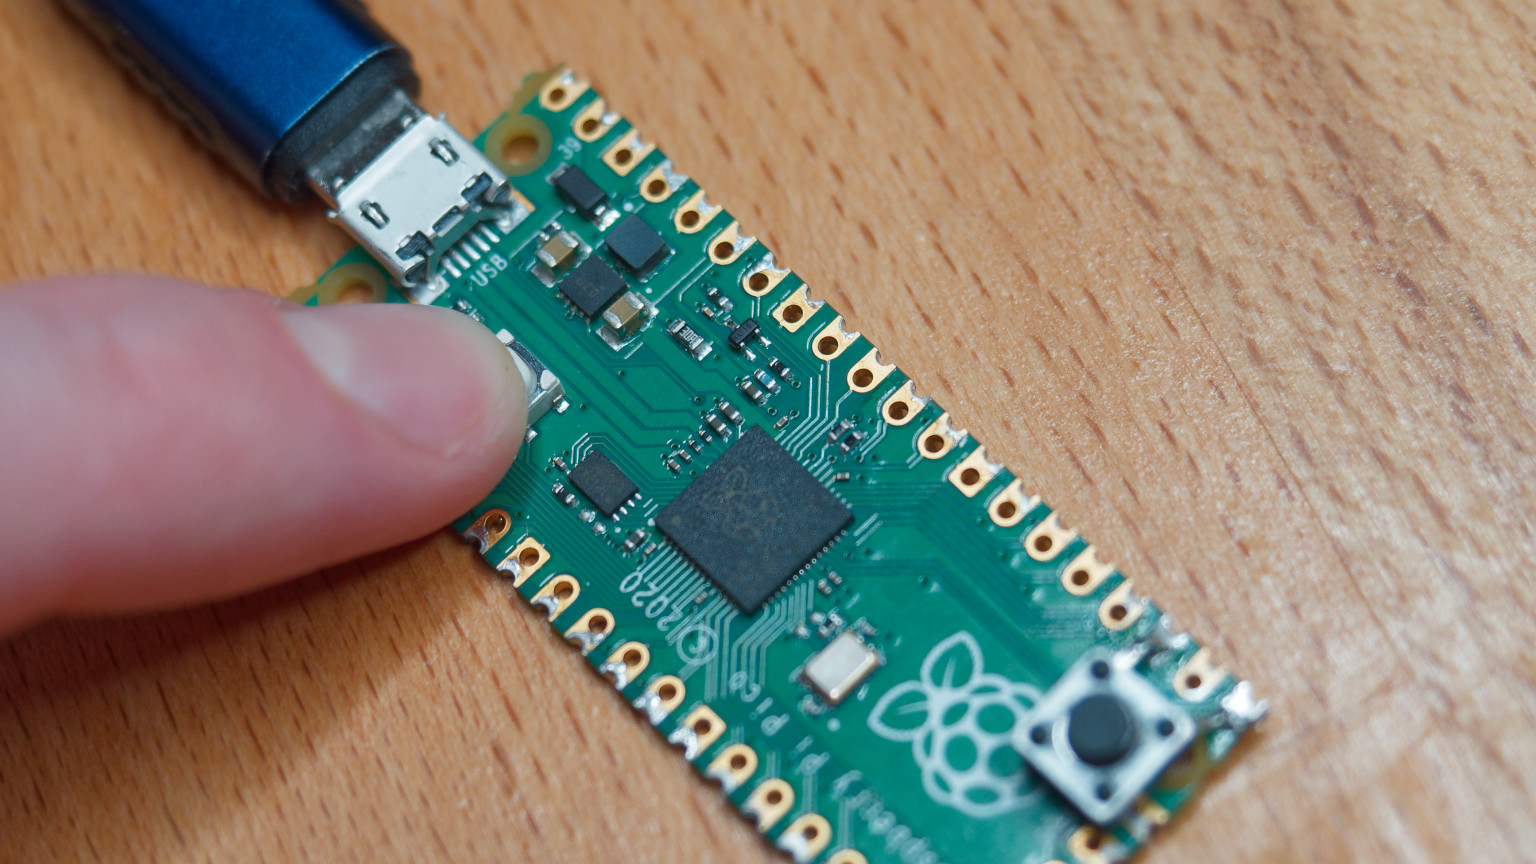
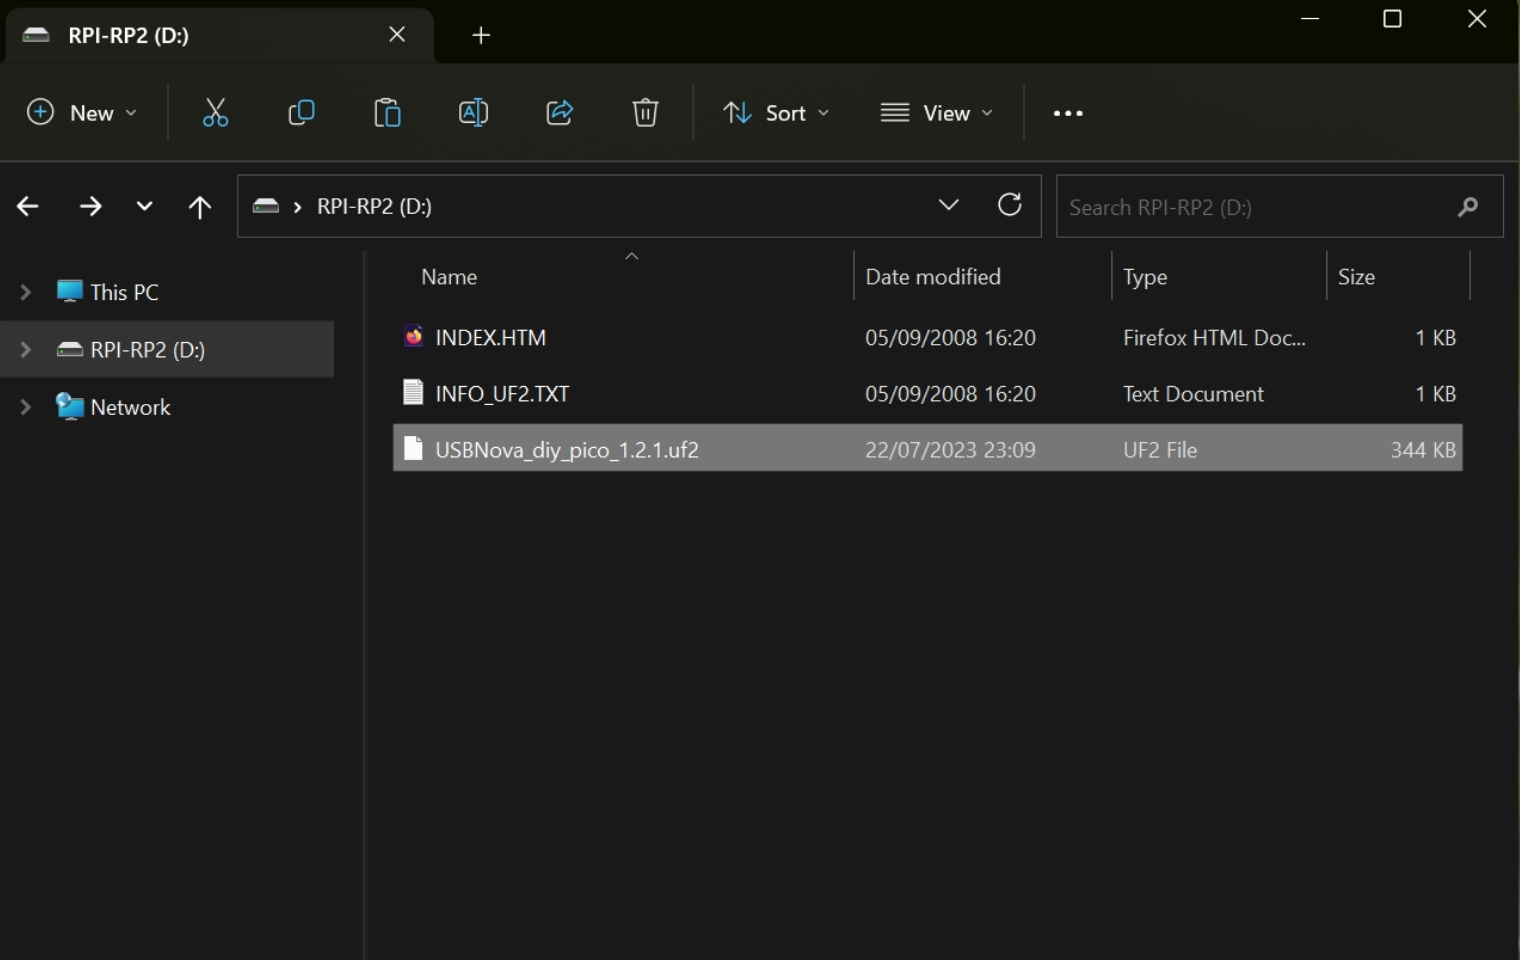
The RPI-RP2 drive should appear on your computer. (If it doesn't, try again)
Download the latest
USBNova_diy_pico_.uf2file from the release page

- Copy the downloaded uf2 file onto RPI-RP2 drive. The Pico will update itself and reconnect.
- Done! To run a script, press the button for 1 second.
Other Boards
The USB Nova firmware runs on any RP2040 board. You just need a button or switch, preferably a Neopixel RGB LED. If you want to use a different board, you have to change the pin number in the firmware.
Download the firmware and edit config.h.
Please understand that I can't provide support for every board out there. If you want to use a different board than mentioned above, you have to figure it out yourself.